LNMP环境搭建Nextcloud(非docker方式)
这篇文章为LNMP环境(Linux,Nginx,MariaDB,php)搭建Nextcloud,非 docker 方式搭建。
前提:本教程适用于Debian系 Linux 发行版。需要懂得使用 vi 或者 nano。如果服务器有防火墙请先开放80和443端口。
1. 更新系统
首先,确保你的系统是最新的:
sudo apt update
sudo apt upgrade
2. 安装Nginx
接下来,安装Nginx:
sudo apt install nginx3. 安装MariaDB
安装MariaDB数据库服务器:
sudo apt install mariadb-server安装完成后,运行安全脚本来增强安全性:
sudo mysql_secure_installation根据提示,设置MySQL的root密码,并配置其他安全选项。
为nextcloud创建数据库
使用以下命令登录到MariaDB:
sudo mysql -u root创建新数据库
登录到MariaDB后,可以使用以下命令创建一个新数据库(名称自己随便写,这里以nextcloud为例):
CREATE DATABASE nextcloud;创建新用户并授予权限
为了安全性,建议为每个数据库创建一个单独的用户,并为该用户授予相应的权限。使用以下命令创建新用户并设置密码:
CREATE USER 'nextclouduser'@'localhost' IDENTIFIED BY 'your_password';将 ‘nextclouduser’ 替换为你希望创建的用户名,将 ‘your_password’ 替换为你希望设置的密码。
然后,使用以下命令将新用户的权限授予到新创建的数据库(如果你刚才创建的数据库不是nextcloud,用户不是nextclouduser的话,请改成自己设置的)
GRANT ALL PRIVILEGES ON nextcloud.* TO 'nextclouduser'@'localhost';最后,刷新权限使更改生效
FLUSH PRIVILEGES;退出MariaDB
完成后,可以按ctrl+d退出。
4. 安装PHP以及nextcloud官网推荐安装的php-module
sudo apt install php-fpm php-mysql php-curl php-gd php-mbstring php-zip php-intl php-apcu php-redis php-exif php-imagick php-gmp安装完成后看下php-fpm的版本号,下面一步有用
5. 配置Nginx使用PHP
为nextcloud创建一个新的服务器块配置文件,配置Nginx来处理PHP文件:
sudo vi /etc/nginx/sites-available/nextcloud添加以下内容(配置文件用的是nextcloud的官方文档# Version 2025-07-23,将下面配置里的server_name换成自己的网址,网站根目录root可以改为自己想要设置的, “php8.4-fpm.sock“ 换成你的版本,如果你不需要https来访问(除非是内网,否则不建议),就把配置里面的 fastcgi_param HTTPS on; 删掉。有人会注意到配置里少了官方文档里面证书路径的部分,这是因为本教程下面配置https部分是用certbot来申请证书,certbot会自动修改nginx配置来实现https访问,所以这里不用管证书位置的问题):
server {
    listen 80;
    listen [::]:80;
    server_name cloud.example.com;

    root /var/www/nextcloud;

    server_tokens off;

    add_header Strict-Transport-Security "max-age=31536000; includeSubDomains; preload" always;

    client_max_body_size 0;
    client_body_timeout 300s;
    fastcgi_buffers 64 4K;

    # Proxy and client response timeouts
    # Uncomment an increase these if facing timeout errors during large file uploads
    #proxy_connect_timeout 60s;
    #proxy_send_timeout 60s;
    #proxy_read_timeout 60s;
    #send_timeout 60s;

    gzip on;
    gzip_vary on;
    gzip_comp_level 4;
    gzip_min_length 256;
    gzip_proxied expired no-cache no-store private no_last_modified no_etag auth;
    gzip_types application/atom+xml text/javascript application/javascript application/json application/ld+json application/manifest+json application/rss+xml application/vnd.geo+json application/vnd.ms-fontobject application/wasm application/x-font-ttf application/x-web-app-manifest+json application/xhtml+xml application/xml font/opentype image/bmp image/svg+xml image/x-icon text/cache-manifest text/css text/plain text/vcard text/vnd.rim.location.xloc text/vtt text/x-component text/x-cross-domain-policy;

    # Pagespeed is not supported by Nextcloud, so if your server is built
    # with the `ngx_pagespeed` module, uncomment this line to disable it.
    #pagespeed off;

    client_body_buffer_size 512k;

    add_header Referrer-Policy                   "no-referrer"       always;
    add_header X-Content-Type-Options            "nosniff"           always;
    add_header X-Frame-Options                   "SAMEORIGIN"        always;
    add_header X-Permitted-Cross-Domain-Policies "none"              always;
    add_header X-Robots-Tag                      "noindex, nofollow" always;

    fastcgi_hide_header X-Powered-By;

    include mime.types;
    types {
        text/javascript mjs;
    }

    index index.php index.html /index.php$request_uri;

    location = / {
        if ( $http_user_agent ~ ^DavClnt ) {
            return 302 /remote.php/webdav/$is_args$args;
        }
    }

    location = /robots.txt {
        allow all;
        log_not_found off;
        access_log off;
    }

    location ^~ /.well-known {
        # The rules in this block are an adaptation of the rules
        # in `.htaccess` that concern `/.well-known`.

        location = /.well-known/carddav { return 301 /remote.php/dav/; }
        location = /.well-known/caldav  { return 301 /remote.php/dav/; }

        location /.well-known/acme-challenge    { try_files $uri $uri/ =404; }
        location /.well-known/pki-validation    { try_files $uri $uri/ =404; }

        # Let Nextcloud's API for `/.well-known` URIs handle all other
        # requests by passing them to the front-end controller.
        return 301 /index.php$request_uri;
    }

    location ~ ^/(?:build|tests|config|lib|3rdparty|templates|data)(?:$|/)  { return 404; }
    location ~ ^/(?:\.|autotest|occ|issue|indie|db_|console)                { return 404; }

    location ~ \.php(?:$|/) {
        # Required for legacy support
        rewrite ^/(?!index|remote|public|cron|core\/ajax\/update|status|ocs\/v[12]|updater\/.+|ocs-provider\/.+|.+\/richdocumentscode(_arm64)?\/proxy) /index.php$request_uri;

        fastcgi_split_path_info ^(.+?\.php)(/.*)$;
        set $path_info $fastcgi_path_info;

        try_files $fastcgi_script_name =404;

        include fastcgi_params;
        fastcgi_param SCRIPT_FILENAME $document_root$fastcgi_script_name;
        fastcgi_param PATH_INFO $path_info;
        fastcgi_param HTTPS on;

        fastcgi_param modHeadersAvailable true;
        fastcgi_param front_controller_active true;
        fastcgi_pass php-handler;

        fastcgi_intercept_errors on;
        fastcgi_request_buffering on;

        # PHP-FPM 504 response timeouts
        # Uncomment and increase these if facing timeout errors during large file uploads
        #fastcgi_read_timeout 60s;
        #fastcgi_send_timeout 60s;
        #fastcgi_connect_timeout 60s;

        fastcgi_max_temp_file_size 0;
    }

    location ~ \.(?:css|js|mjs|svg|gif|ico|jpg|png|webp|wasm|tflite|map|ogg|flac)$ {
        try_files $uri /index.php$request_uri;
        # HTTP response headers borrowed from Nextcloud `.htaccess`
        add_header Cache-Control                     "public, max-age=15778463";
        add_header Referrer-Policy                   "no-referrer"       always;
        add_header X-Content-Type-Options            "nosniff"           always;
        add_header X-Frame-Options                   "SAMEORIGIN"        always;
        add_header X-Permitted-Cross-Domain-Policies "none"              always;
        add_header X-Robots-Tag                      "noindex, nofollow" always;
        access_log off;     # Optional: Don't log access to assets
    }

    location ~ \.(otf|woff2?)$ {
        try_files $uri /index.php$request_uri;
        expires 7d;         # Cache-Control policy borrowed from `.htaccess`
        access_log off;     # Optional: Don't log access to assets
    }

    location /remote {
        return 301 /remote.php$request_uri;
    }

    location / {
        try_files $uri $uri/ /index.php$request_uri;
    }
}
启用配置
在‘sites-enabled ’目录中创建一个指向 ‘sites-available’ 目录中新配置文件的符号链接:
sudo ln -s /etc/nginx/sites-available/nextcloud /etc/nginx/sites-enabled/nextcloud测试Nginx配置
在重新加载Nginx之前,测试配置文件是否有语法错误:
sudo nginx -t如果没有错误,重新加载Nginx以应用新配置:
sudo systemctl restart nginx6. 下载 Nextcloud 最新版,并放到相应的目录
进入上面Nginx配置文件里设置的根目录的上一层:
cd /var/www下载最新的Nextcloud压缩包:
sudo wget https://download.nextcloud.com/server/releases/latest.zip解压下载好的压缩包:
sudo unzip latest.zip解压后/var/www目录里面会有nextcloud的目录,重命名为Nginx配置里设置的根目录的名称(如果上面配置的根目录是/var/www/nextcloud的话,这一步可以省略):
sudo mv nextcloud /var/www/nextcloud设置网站根目录的所有权:
sudo chown -R www-data:www-data /var/www/nextcloud7. 配置https
为了确保安全性,为你的域名配置HTTPS。可以使用Let’s Encrypt免费SSL证书,Let’s Encrypt是一个知名的免费证书颁发机构,以下是步骤:
安装 Certbot 和 Nginx 插件
Certbot 是 Let’s Encrypt 官方建议的帮助自动获取和安装 Let’s Encrypt 证书的工具:
sudo apt install certbot python3-certbot-nginx获取 SSL 证书(该步骤完成后,会自动修改该网站的nginx配置文件)
sudo certbot --nginx -d your_domain -d www.your_domain按照提示完成证书安装过程,你需要提供你的电子邮件地址,并同意服务条款,共享电子邮件地址可选N(如果你愿意接收来自 EFF 的邮件,可以输入 Y 并按回车;否则,输入 N 并按回车。这不会影响证书的获取和安装)。完成后,Certbot会自动更新Nginx配置以使用HTTPS。你可以通过访问 https://your_domain 来验证 SSL 证书是否正确安装。
Certbot 的自动续签功能
Certbot 默认安装一个 cron job 或 systemd timer 来自动检查并续签即将到期的证书。这个自动续签功能会每天运行两次,并在证书有效期少于30天时自动续签证书。
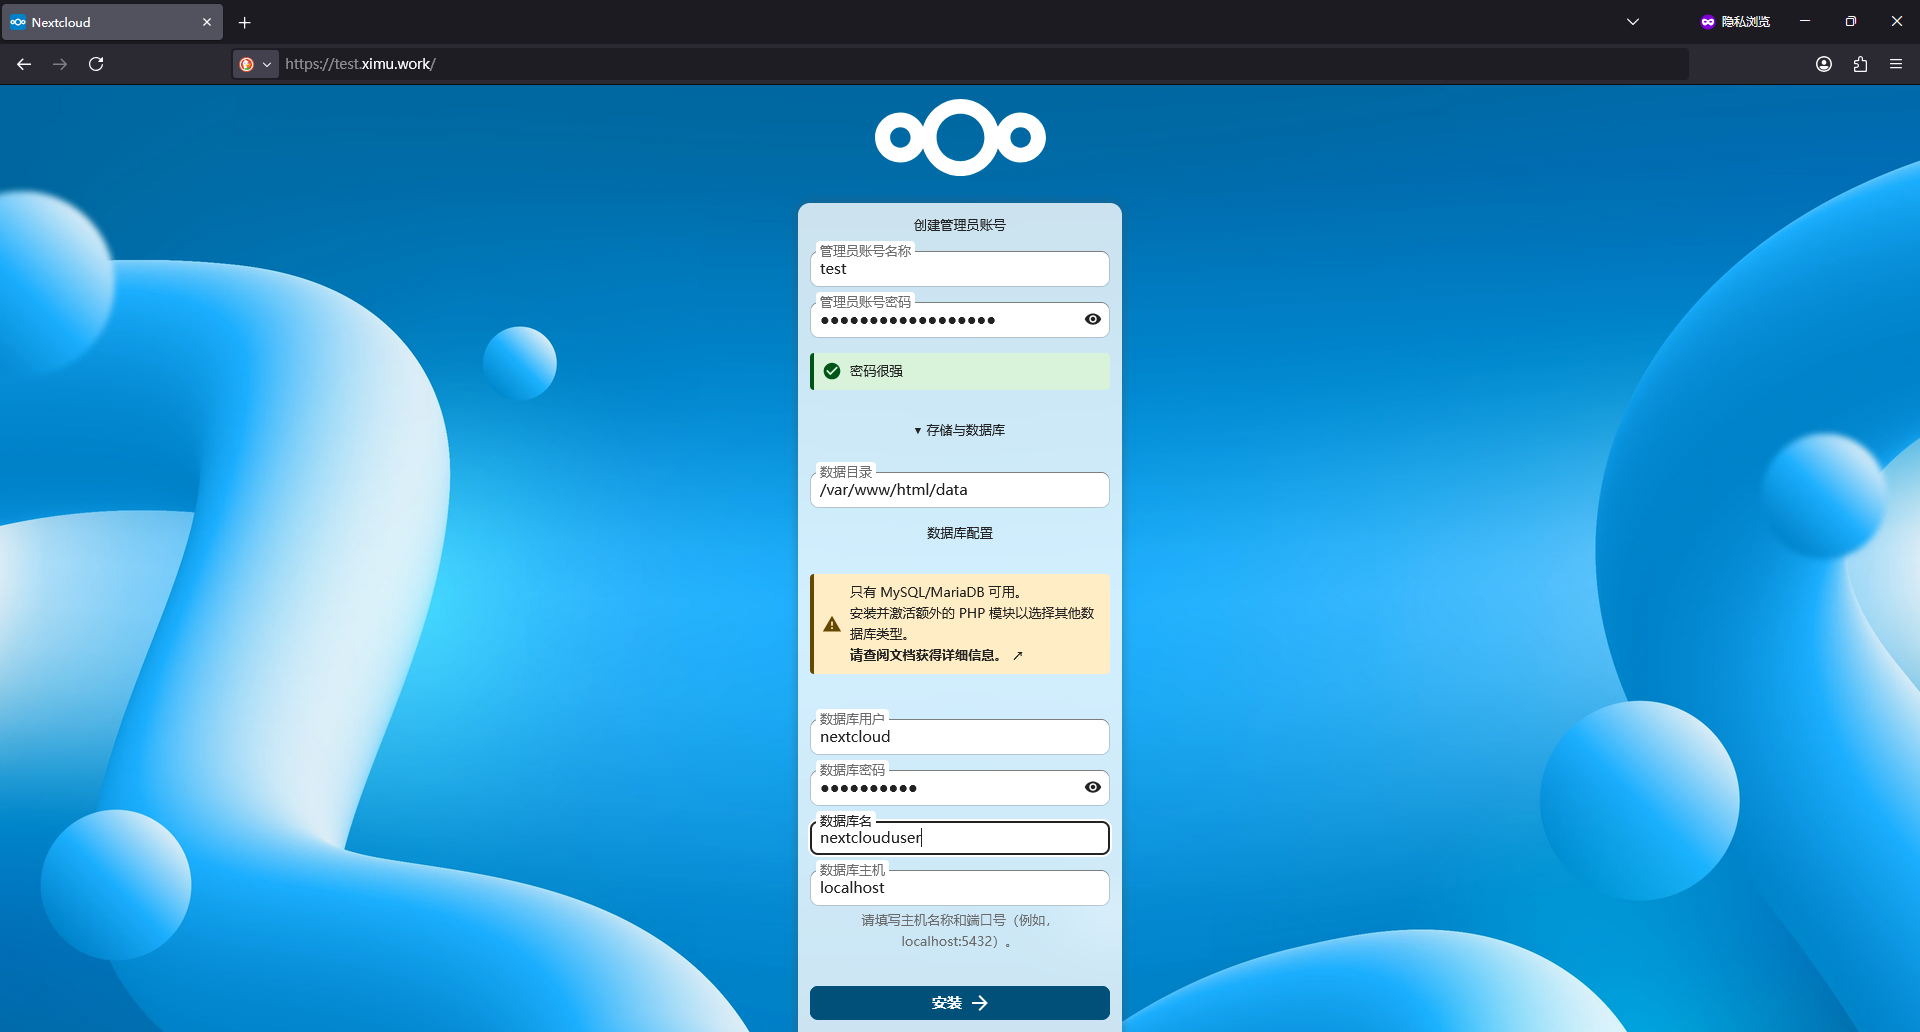
8. 通过访问 https://www.yourdomian.com 来配置nextcloud
设置 nextcloud 的管理员账号和密码,填入刚才为 nextcloud 创建的数据库信息,点击安装后等待下一个步骤。
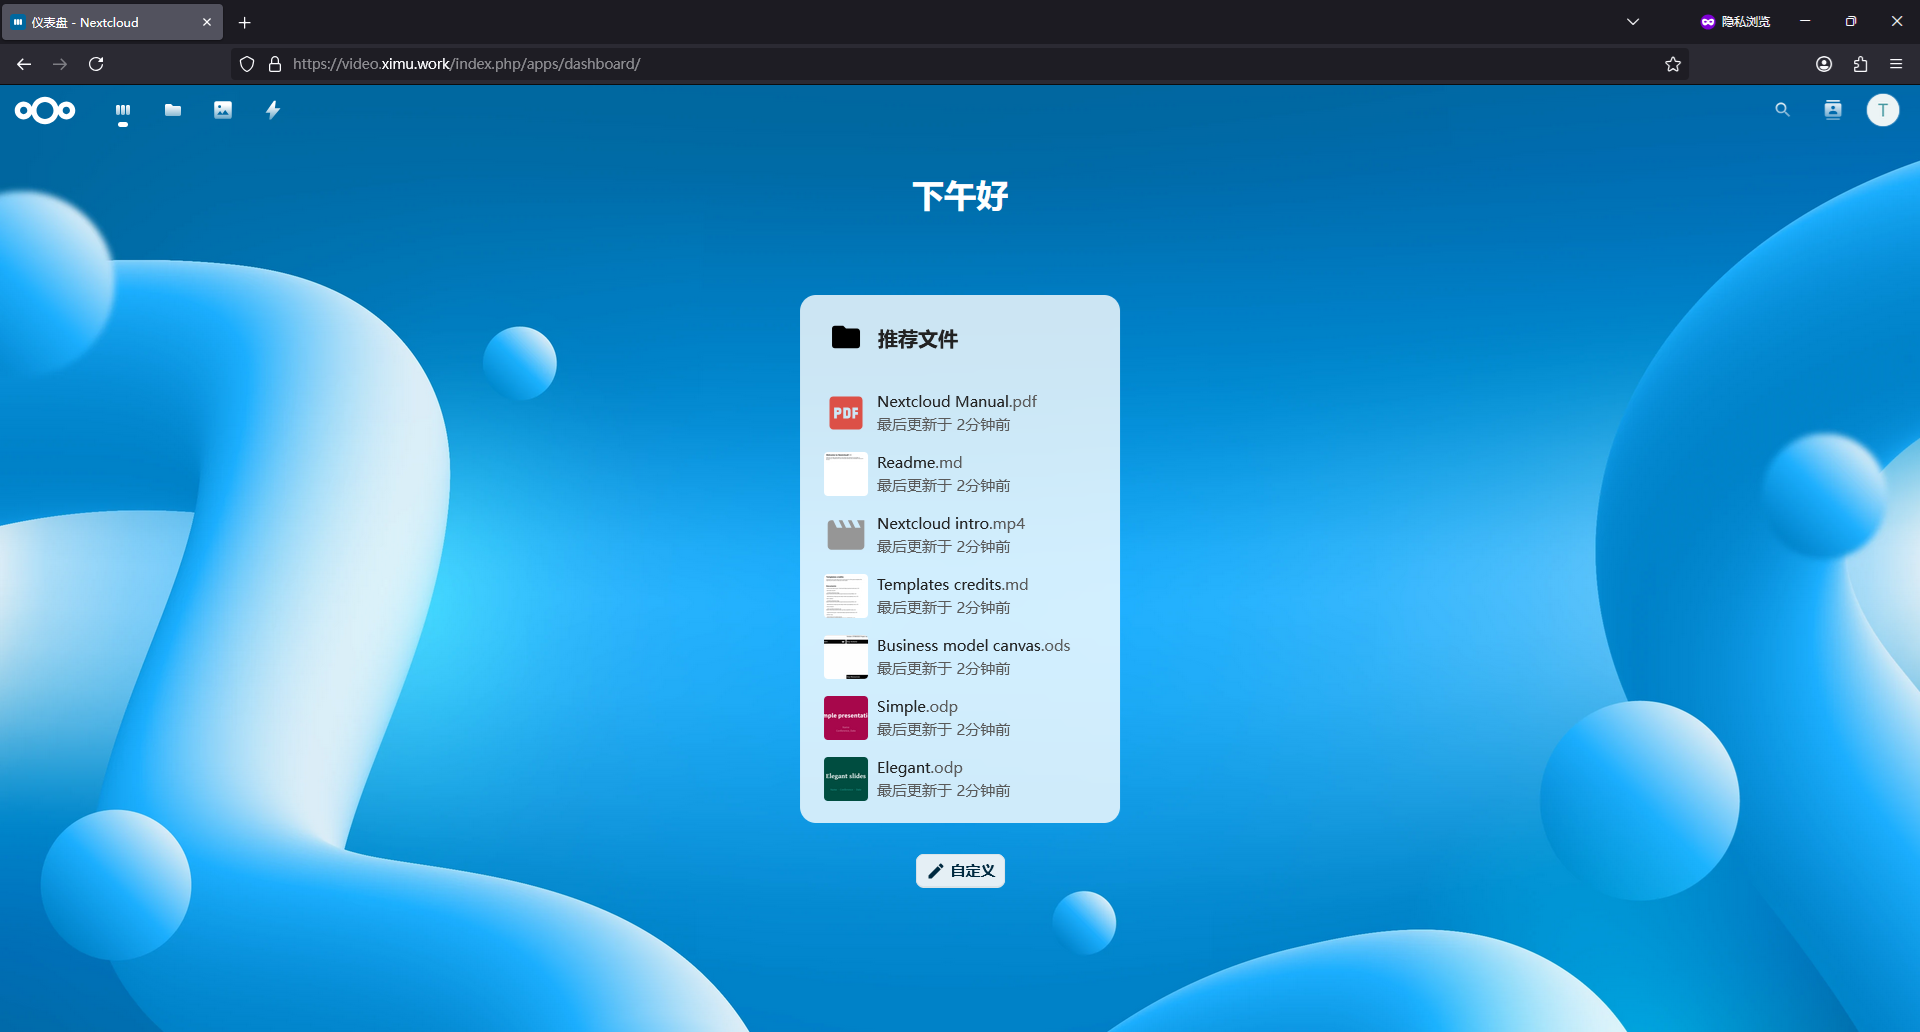
然后可以看到推荐安装的应用,选择自己要安装的应用,如果只是要网盘的功能,跳过即可,后面想要这些应用还是可以安装的。

然后就进入仪表盘了
根据nextcloud官方的内容,需修为 nextcloud 改一下 /etc/php/8.4/fpm/php.ini 的一些配置(将版本号8.4替换为自己的):
; 允许上传最大文件大小
upload_max_filesize = 2G

; 表单请求最大大小(必须大于 upload_max_filesize)
post_max_size = 2G

; 单个脚本最大执行时间(秒)
max_execution_time = 3600

; 脚本最长输入解析时间
max_input_time = 3600

; PHP 脚本可用最大内存
memory_limit = 1G
修改后重启php-fpm(将版本号8.4替换为自己的):
sudo systemctl restart php8.4-fpm参考下方连接 PHP ini Settings 部分:
https://docs.nextcloud.com/server/stable/admin_manual/installation/php_configuration.html